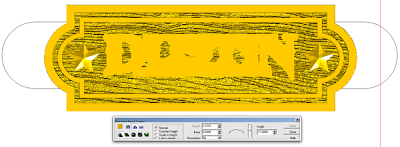
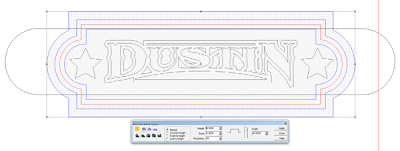
For Dustin's name tag I decided on an old western theme. He owns and operates a theme park with a railroad theme. I types in the lettering, enlarging the 'D' and 'N'. But it didn't flow. I'd fix that in a hurry with the new distort tool in EnRoute 5.
I tackled the center letters first. I selected all three letters and then opened the distort tool. It is as simple as dragging the nodes downwards. The letter vectors don't move with the grid until you hit apply.
I did the 'D' first, then the 'N' on the other side.
I created the rest of the vectors I needed to create the plaque in EnRoute using the drawing tools. The center sausage shaped vector would be used to distort the relief later.
I created a flat relief in the shape of the plaque, then created a raised border around the inside by modifying the relief.
A wood grain bitmap was applied to the inside portions of the plaque.
Then as a separate relief I created the letter border.
The stars were also created as separate reliefs. These would be floated into position and merged highest in a bit.
 |
I checked the front view to make sure everything was at the right height before merging highest all of the elements.
The bands above and below the lettering as next created as flat reliefs, aded to the existing background relief.
Last up was the lettering created as a beveled relief.
The file was now ready for tool pathing, But I had removed the boots from the collets for a thorough cleaning and forgot to calibrate then before starting to route. The result was some 3/8" tool marks in the top of the letters done during the rough pass. I decided it looked good. I would leave it and perhaps use this trick down the road. The border edge of the plaque also had roughing pass tool marks. I used my die grinder to take them off in an instant. I purposely left die grinder tool marks, making the edges look like they had been carved with an adz or chisel.
It should paint up pretty cool. I'll be posting more pics as that process proceeds. Stay tuned...
-dan


