We are getting excited about the Denver workshop and have signed up quite a number of eager attendees. There is still room but time is quickly running out. If you are interested please don't miss out.
Denver, CO VIP event Sept 16-18
Meet the EnRoute developers at this special 3 Day "EnRoute Pro" event in Denver, CO. This will be a more advanced, three day class focused on 3D surfacing, carving and texture creation specifically for the sign and woodworking industries. Dan Sawatzky will also be in attendance and showing his magic.
Space is limited, so register early to guarantee your seat. It's $1,295 to attend the EnRoute Pro 3-day class, but you save $200 when you register 30 days before the event. Attendees from 2014 save $300 when you register 30 days before the class.To register, contact Terri Wright1800.229.9066 x114 or EnRouteSales@ThinkSAi.com
Here is the proposed agenda.
EnRoute 3-Day Workshop
Denver, Colorado
September 16-18, 2015
Day 1
Let’s get started
• Introductions • Review EnRoute concepts and the interface
• The Design/Toolpath/Output process
• Review the 2D design tools
• Practice
3D
Design Introduction
• Introduction to Reliefs
• Building a Relief
basic shapes
• Construction tools
• Smoothing, merging, slicing
• Practice
Practical Projects
• From Design to Finished Product Concept to Part
• Let’s build a relief with Dan
• Review and Practice
Toolpath Techniques
• Routing Offset Basics
• Fill Basics
• 2.5D Toolpaths
Clean Passes, and Pyramid
• 3D Toolpaths
• Inlays
• Practice
Evening Session (optional) At the Artistic Automation Shop
• Burgers and Beverages (provided)
• Tools, preparation, and cutting
• Creative priming and finishing techniques
Day 2
Practical Cutting
• Design it, Toolpath it, Output it.
• Designing in EnRoute vs. Bringing in a design
• Everyday toolpath techniques standardize
• Nesting Basics
• Practice
Fun with Bitmaps
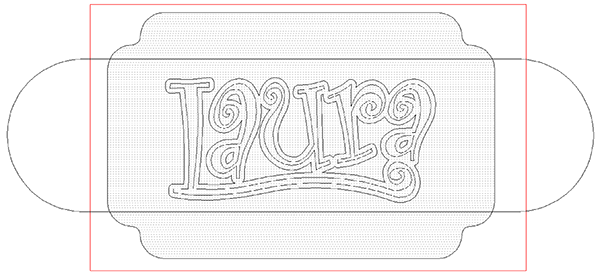
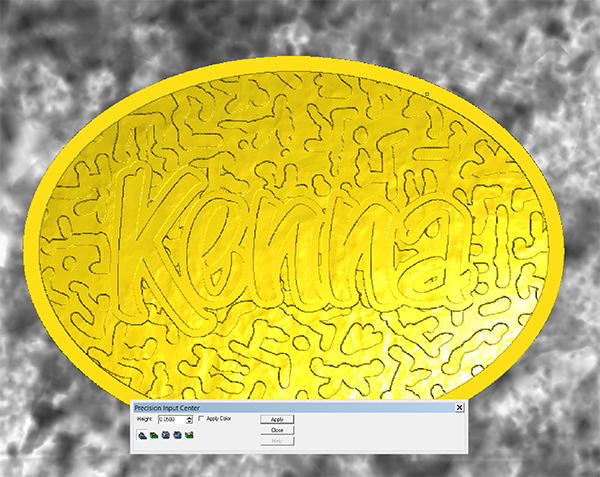
• Introduction
Using bitmaps to add surface texture
• Creating bitmaps
• Importing and using bitmaps
• Practice
Projects
• From Design to Finished Product
Concept to Part
• Let’s build a relief with Dan
• Review and Practice
Rapid Texture
• Introduction and demonstration
• Basic design
• Exploring the options
• Incorporating a relief
• Toolpath techniques with rapid texture
• Practice
Evening Session (optional) At the Artistic Automation Shop
• Sandwiches and Beverages (provided)
• Rotary axis demo
• Creative finishing techniques
Painting and glazing
Day 3
Advanced 3D Techniques
• Noise tools for Contours, Reliefs, Toolpaths and even Meshes
• Parametric Textures
• Rapid Picture
• Combining Techniques
• Practice
Automatic Toolpath
• Overview
• Applications for cabinet makers
• Applications for part processors
• Applications for everyone
• Boxster
• Practice
Creating a Successful Business
• How to have fun in business
• Develop your own style
• Marketing your capabilities
Wrap-up and Q & A
• Overview of the high points of the workshop
• Ask us a stumper (if you haven’t already)
• Time for practice and one‐on‐one reviews