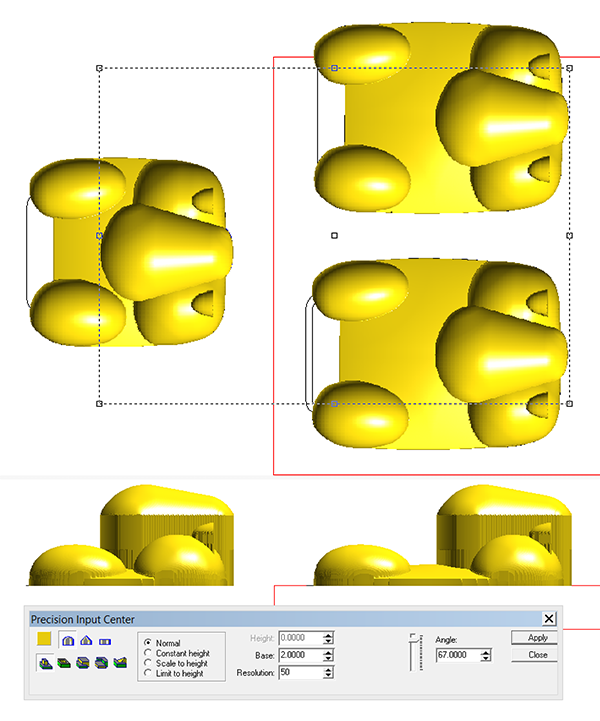
One of the things I love about EnRoute is how I can combine all kinds of shapes to form anything I can imagine. Sometimes it is a matter of adding things together and sometimes it is about taking things away. By changing things up just a little I can modify the shapes and change them at will to make something different.
On the vehicles I started with the headlights. The first step was a simple oval using the dome tool.
I then clipped off the front by merging lowest with a zero height rectangle.
I used the slice tool to get rid of the flat bits.
The running boards were created using the dome tool with a shallow edge on the relief.
The front and rear fenders again were formed using the dome tool and a steeper angle.
I then nudged the headlights up to where they needed to be in the side view.
The rest of the fenders were then completed.
The dome tool was again used to create the hood on all of the vehicles.
Then everything except the headlights was combined. The headlights were merged (highest) with the combined relief.
The cockpit relief was next, once again created using the dome tool.


