WELCOME!


It is hard to believe that it was almost ten years ago I witnessed a CNC router in action for the very first time. I was fascinated with what I saw and simply had to have one! Although I had been in the creative end of the three dimensional sign business for most of my life I didn't really know what I would do with one - but I just knew it could do fantastic stuff.

Through extensive research and LOTS of hands-on practice I quickly found out that my MultiCam router was capable of just about anything imaginable.This journal will chronicle that journey to date and continue each week with two or three entries as I continue to explore just what is possible with this wonderful tool... -dan

Saturday, August 10, 2013

Workshop sign lettering

The gear sign has lain dormant for a week while I was very busy with other things. Today I finally had time to work a little on it but in last week's business I must of stuck the file somewhere that I simply couldn't remember. So I had to build another.


Then it was on to the tool lettering. The first was the 'W'. I built one leg and then duplicated, rotated and flipped it.


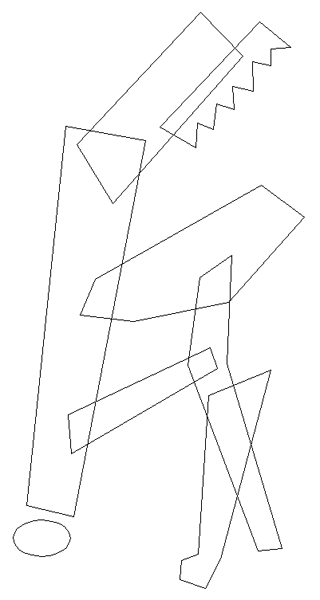
The 'O' and the 'R' were pretty simple,using many of the same steps we used to make the gear for the background border. The vise grips look really complex but the reality is they are not. I first used the vector drawing tool to very quickly draw our the rough pieces we needed. The most important aspect of this is to get the right number of nodes. I then used the vector editing tool to tweak the placement of the nodes and also form the curves. In a few minutes I had everything I needed.


The 'S' was dead simple and then it was on to the 'H' Once more I simply thought about the shapes I wanted and then built up the shapes I needed. The create relief tools will do the rest. Once all the different shaped reliefs are built I'll combine them in a hurry.


For the 'P' I duplicated and resized the gear I had created for the 'O' The handle was built of smaller shapes which were then combined. Lettering was added as a last step.

 The lettering was then resized so they looked good together. The last step was to resize and place them onto the base plate vectors.


Next time I'll start in on creating the reliefs. Stay tuned...

-dan