WELCOME!


It is hard to believe that it was almost ten years ago I witnessed a CNC router in action for the very first time. I was fascinated with what I saw and simply had to have one! Although I had been in the creative end of the three dimensional sign business for most of my life I didn't really know what I would do with one - but I just knew it could do fantastic stuff.

Through extensive research and LOTS of hands-on practice I quickly found out that my MultiCam router was capable of just about anything imaginable.This journal will chronicle that journey to date and continue each week with two or three entries as I continue to explore just what is possible with this wonderful tool... -dan

Tuesday, September 13, 2016

Pub sign step by step - part two

The Toad Stool Elixer sign basic vectors were done in Photoshop but we were not done yet. I still needed to add the mushroom shape, the letter outlines and also design the bracket for the sign. I like the bracket to be a part of the sign from the start rather than just a last minute add on.


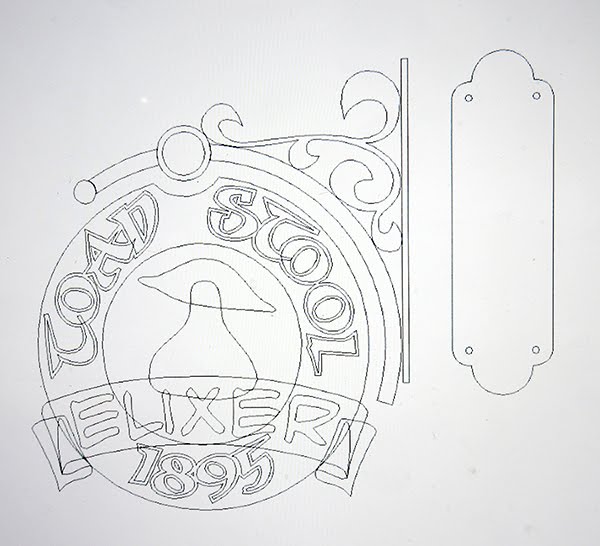
I imported the sign vectors into EnRoute and then sized it appropriately. Then I could get to work on the bracket. With all of the overlapping lines it looks a little jumbled at this point but the bracket design would be like this.  I wanted the sign support to be fashioned out of 1" pipe and bend around the sign. This would be intercepted by a piece of 4" heavy pipe which would 'cut' into the sign face. I'd weld a steel ball at the end to cap the pipe. We'd then use the MultiCam CNC plasma cutter to whip up the decorative steel. All this would be welded to a piece of 1/4" plate to fasten to the wall.


The plate on the wall was a simple combination of shapes which were then combined.


I used the jigsaw tool to trim the pipes and then fined the drawing making it ready to begin building the reliefs. That will begin with the next post.