The crown vectors were fairly simple, designed to make the crown as tough as possible with no small bits to be broken off. The mirror frame will be routed from 40 lb Precision Board and backed with 3/4" plywood for extra strength.
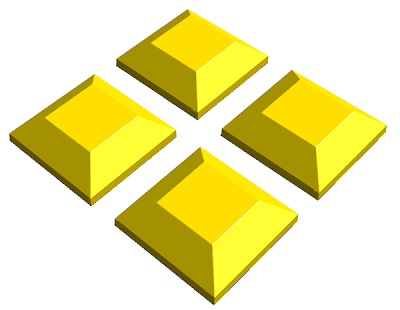
One thing I want to show is how to make a faceted edge to a relief or rather one of the ways to accomplish this task in EnRoute. The relief is a simple square vector. Then I opened the create relief menu. Look close at the options I have selected... add to relief, bevelled relief, LIMIT TO HEIGHT. since the material I am routing the diamonds from is 1 inch thick I selected this number to enter. The base height ( distance of the vertical side of the relief) is set at 0.3" the angle of the bevel is set to 40 degrees. When I hit enter it creates the perfect diamond shape with bevelled edges.
Heres a 3/4 angle shot to show what happened with these settings. This is a handy tool I like to sometimes use.
And here's a screen shot of the finished routing file. The yellow bits will be routed in two passes, first with a 3/8" ball nose bit and a final pass with a 1/8" ball nose bit and an 80% overlap. The thin black vector is our guide for an offset, cutout pass using a 3/8" mill tool.
And here's the picture of the piece as it runs on the MultiCam as I type up this entry. I'll run out to the shop in a few minutes to shut down the machine as soon as the file is finished. Tomorrow morning I'll take it to the job site for final approval and fitting.
-dan


